Build a WordPress Site on AWS Lightsail: The Complete Guide From Scratch

1 Introduction
In 2023, creating a website to run your own blog or online store is remarkably easy. With just a few clicks, a WordPress site can be brought to life! However, these one-click WordPress creation services often lack flexibility.
For instance, they typically don’t allow you to SSH into the server to modify the WordPress code, nor do they let you directly dump the entire MySQL database for backup. Many operations require installing additional plugins within WordPress.
Therefore, if you want full control over your website, it’s recommended to rent a server and try installing a web server and WordPress yourself.
This article will guide you through creating your own website in just a few simple steps using AWS Lightsail and WordPress. A word of caution: this method requires you to handle your own security. If you are completely new to web security, you might want to consider if this approach is right for you.
2 Register an AWS Account and Access Lightsail
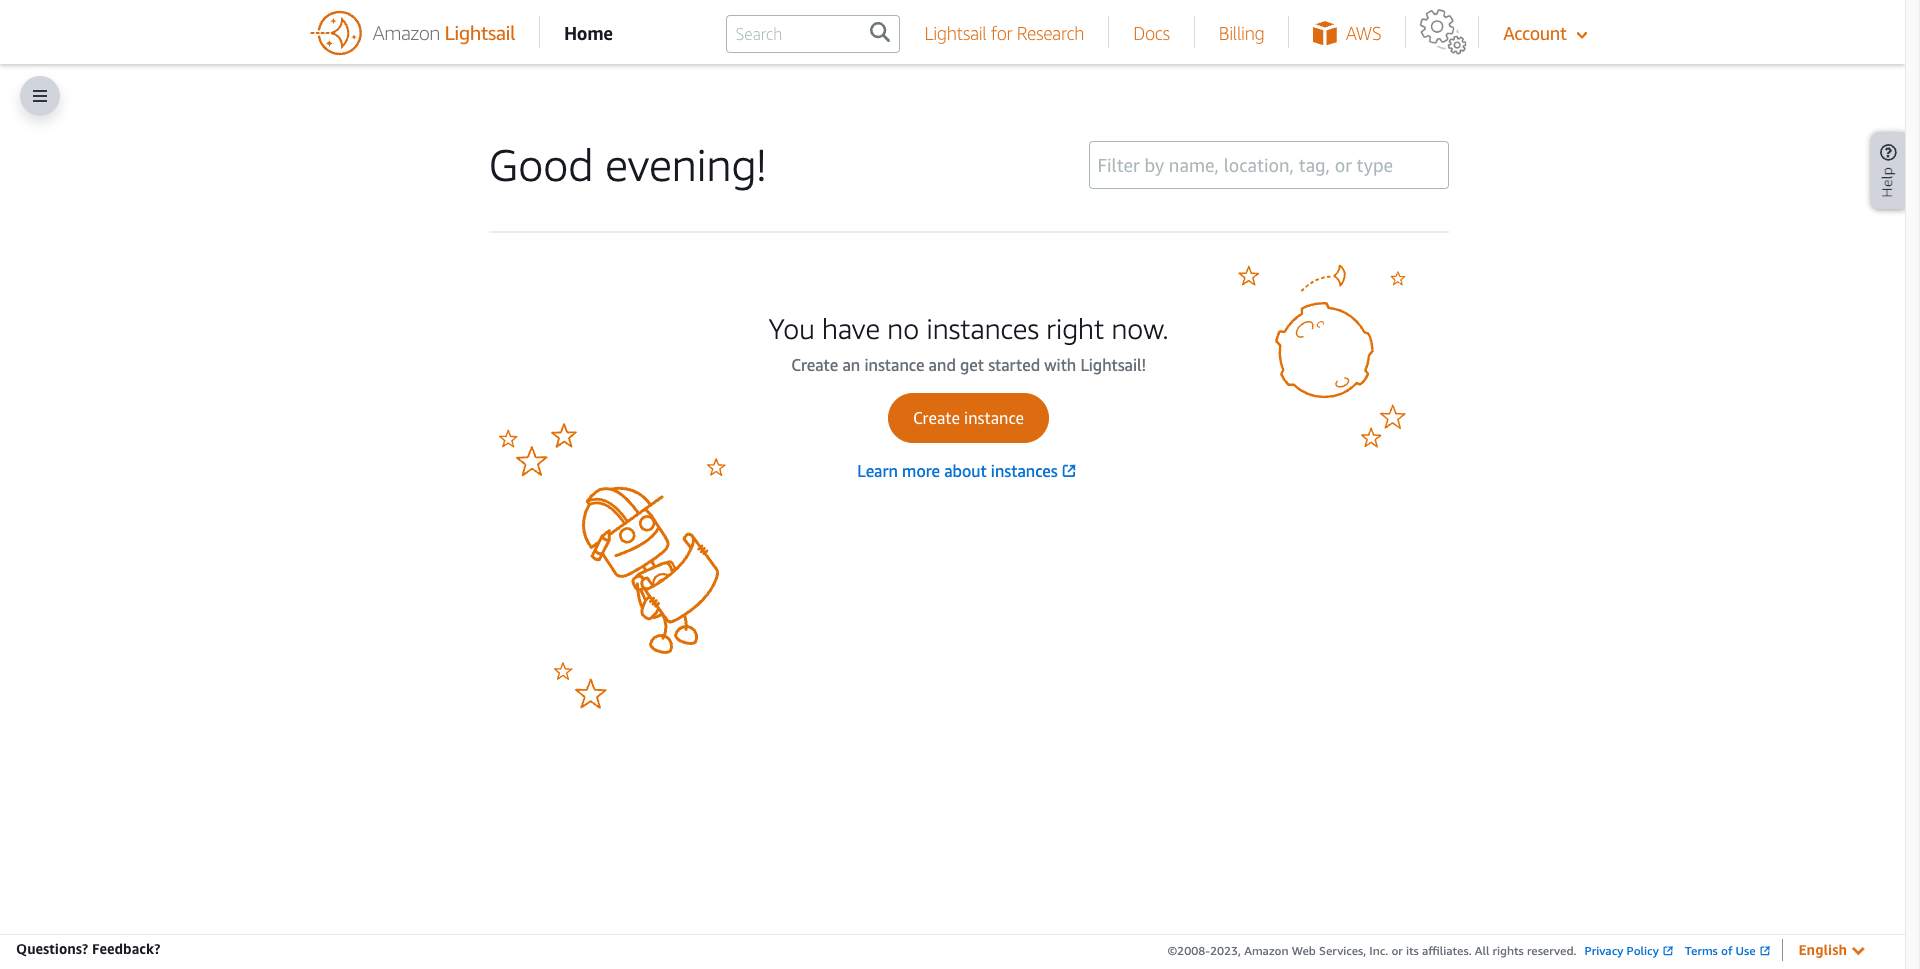
Before you begin, you’ll need an AWS account. The registration process is straightforward, so we won’t cover it here. Once registered, find and click on the Lightsail service. You will be taken to the following page:
3 Create an Instance with Lightsail
Next, we’ll use Lightsail to rent an “Instance” from AWS. You can think of this as renting a computer where your website will be deployed. Click on “Create Instance” on the current page to go to the instance setup screen.
First, choose the physical location for your instance:
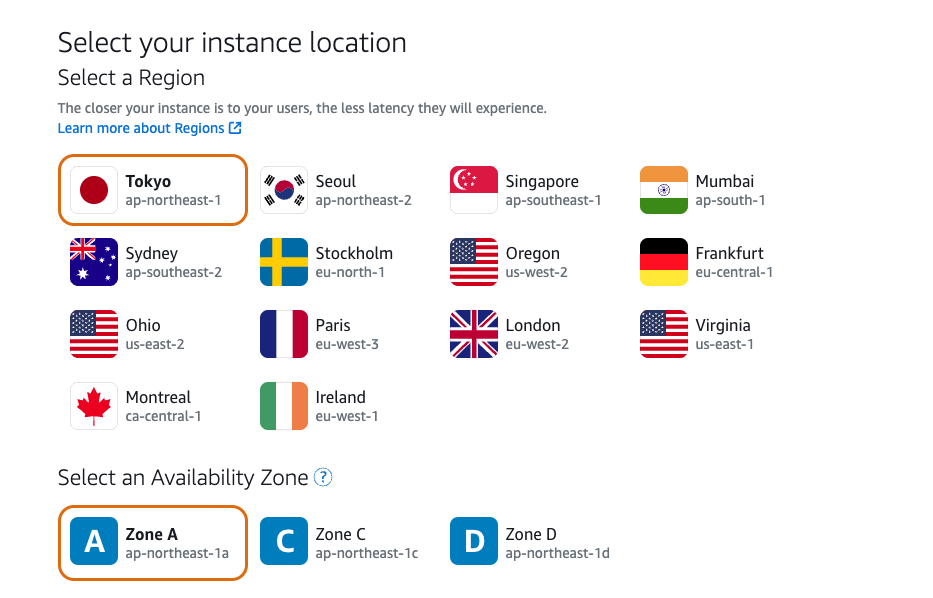
In AWS, “Region” and “Availability Zone” are two important concepts. A Region contains multiple Availability Zones. You can refer to this document for a deeper understanding, but we won’t go into detail here.
The closer your instance is to your target audience, the lower their website loading latency will generally be. Since my target audience is primarily in Asia, I’ve placed my instance in Tokyo.
Next, select the instance image. This determines the operating system and any pre-installed software for your instance:
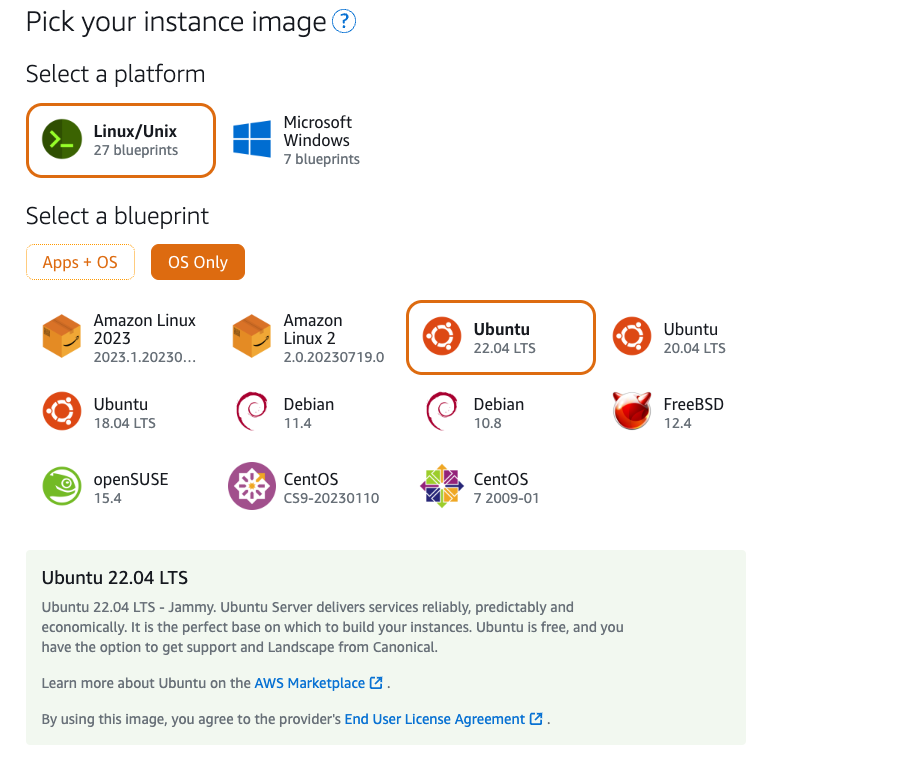
Here, I just want a clean installation of the Ubuntu 22.04 OS. The “Optional” fields below can be left empty.
Then, you need to choose the hardware specifications for your instance. This depends on your individual needs. Since I’m only creating a personal blog and don’t expect massive traffic spikes, a $5 or $10 per month plan is more than sufficient:

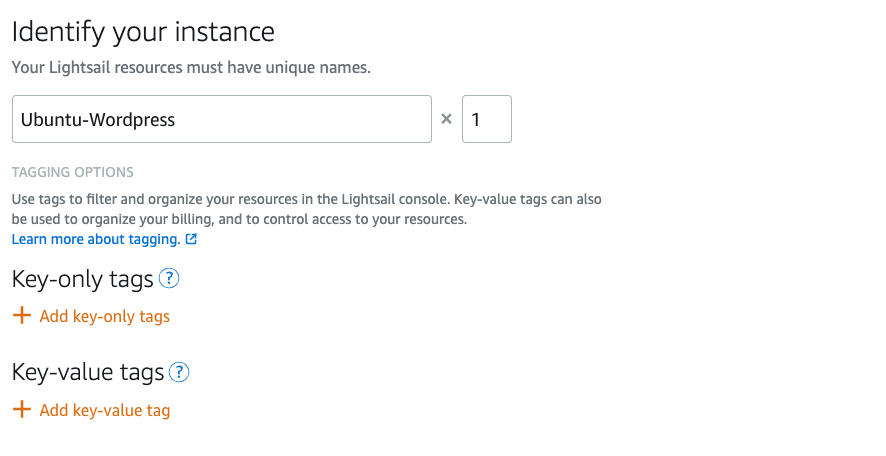
Finally, give your instance a name. Since this instance is for a WordPress site, I’ve named it accordingly:
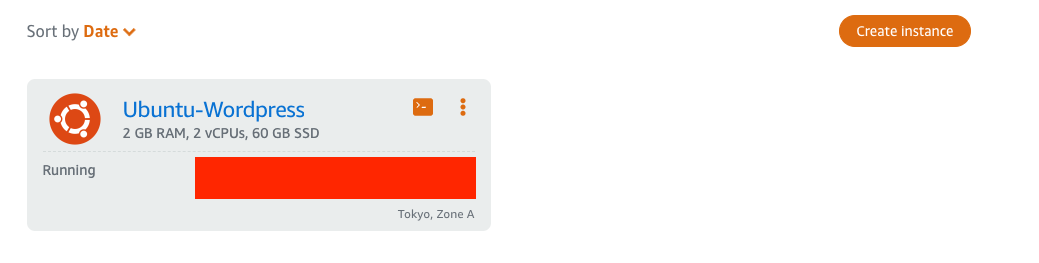
Once all the settings are configured, click the final “Create Instance” button. If you see the screen below, you have successfully created an instance on Lightsail!
4 Install a Web Server (Nginx)
Congratulations on completing the first two steps! You’re getting close. In this third step, we need to install a web server on the instance we just created. We’ll be using Nginx.
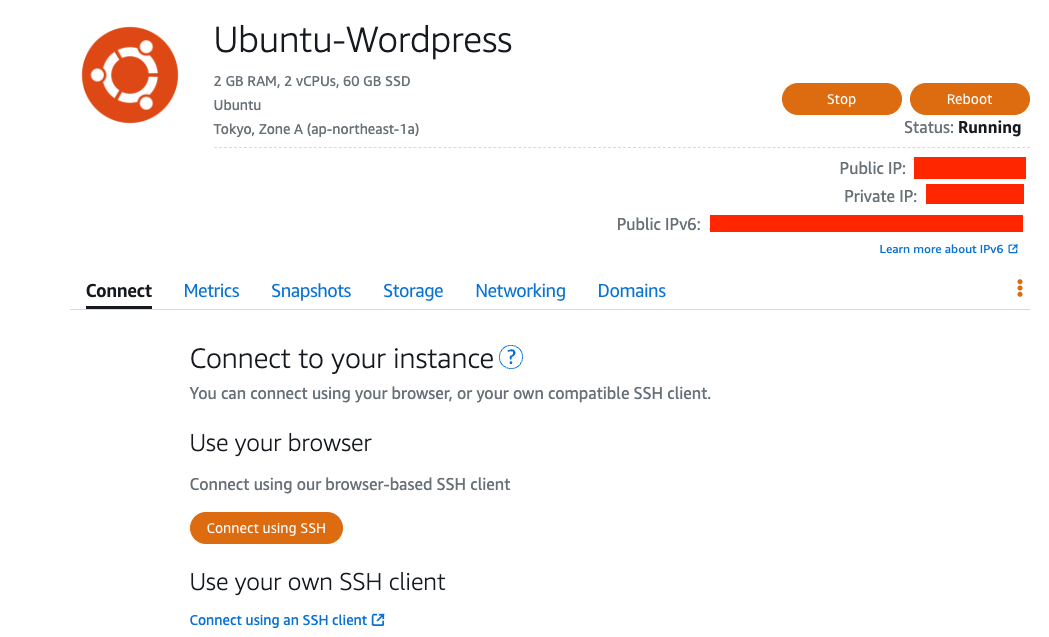
First, click on the instance you just created and connect to it via SSH:
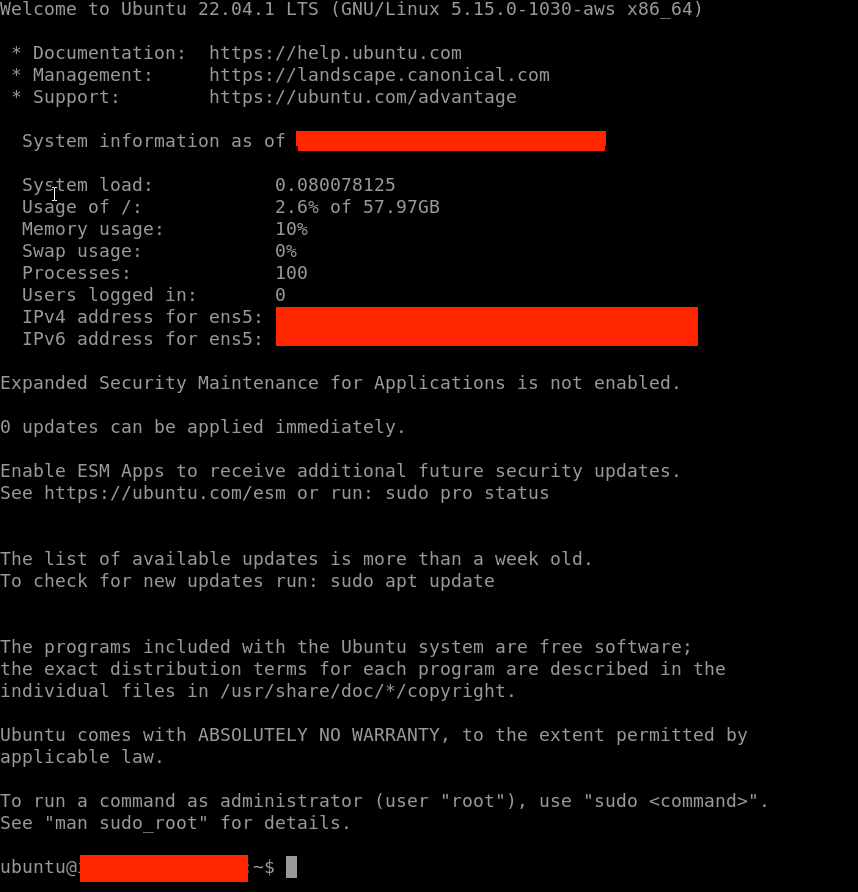
If you see the following screen, you have successfully connected to the instance via SSH. From now on, you can do anything you want with this instance! :D
Next, execute the following commands to enable the Ubuntu firewall (UFW) and allow SSH connections:
sudo ufw allow OpenSSH
sudo ufw enable
Check the current firewall status:
sudo ufw statusNow, install the Nginx web server on the instance:
sudo apt update
sudo apt install nginx```
After installation, remember to configure the firewall to allow HTTP and HTTPS traffic:
```bash
sudo ufw allow 'Nginx HTTP'
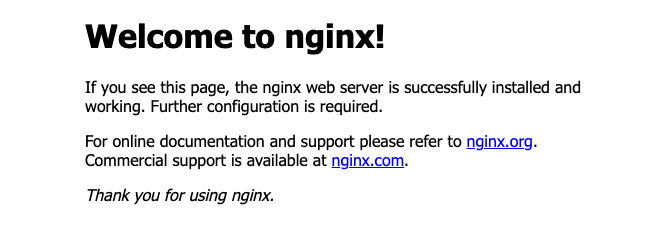
sudo ufw allow 'Nginx HTTPS'At this point, if you enter your instance’s Public IP into your browser’s address bar and see the following page, your web server is set up successfully:
5 Install a Database Management System (MySQL)
With a web server in place, you can now handle requests from all over the world, allowing people to access your site via HTTP/HTTPS. Next, we need to install a DBMS (Database Management System). A DBMS is used to manage databases, which will store your WordPress posts, pages, and other information. We’ll choose MySQL for our DBMS.
Execute the following command to install MySQL:
sudo apt install mysql-serverAfter the installation is complete, enter the MySQL interface:
sudo mysqlEnter the following SQL command to change the root user’s password (remember to replace SetRootPasswordHere with your own password):
ALTER USER 'root'@'localhost' IDENTIFIED WITH mysql_native_password BY 'SetRootPasswordHere';If you see “Query OK,” the SQL statement was executed successfully.
Exit MySQL:
exit;Next, run the MySQL secure installation script:
sudo mysql_secure_installationYou will need to answer the following questions:
- Enter password for user root: Enter the password you just set for the root user.
- Would you like to setup VALIDATE PASSWORD component? Enter
y. - Please enter 0 = LOW, 1 = MEDIUM and 2 = STRONG: Enter
2. - My screen then showed Estimated strength of the password: 100, indicating the strength of the password I set for the root user.
- Remove anonymous users? Enter
y. - Disallow root login remotely? Enter
y. - Remove test database and access to it? Enter
y. - Reload privilege tables now? Enter
y.
6 Create a Dedicated Database for WordPress in MySQL
Now that MySQL is installed, we need to create a dedicated database for the WordPress site we are about to set up. Information for your WordPress site will be stored in this database.
Enter MySQL (you’ll be prompted for the root user password you set):
sudo mysql -pCreate the WordPress database:
CREATE DATABASE wordpress DEFAULT CHARACTER SET utf8 COLLATE utf8_unicode_ci;Next, create a user in MySQL and set a password for this user (replace your_strong_password with your own password):
CREATE USER 'wordpress-user'@'localhost' IDENTIFIED BY 'your_strong_password';To see all users in MySQL, you can run:
SELECT user FROM mysql.user;If you encounter the following error when creating the user:
ERROR 1819 (HY000): Your password does not satisfy the current policy requirementsThis means the password is not strong enough. You can run the following command to check the password requirements:
SHOW VARIABLES LIKE 'validate_password%';After creating the user, grant it all privileges to operate on the wordpress database:
GRANT ALL PRIVILEGES ON `wordpress`.* TO "wordpress-user"@"localhost";Exit MySQL:
FLUSH PRIVILEGES;
exit;
7 Install PHP
At this point, we have installed Nginx (Web Server) and MySQL (DBMS). The final piece is to install PHP. This is crucial because WordPress itself is primarily written in PHP. To run WordPress, this machine must be able to execute PHP code.
Install PHP and related extensions:
sudo apt install php-curl php-gd php-intl php-mbstring php-soap php-xml php-xmlrpc php-zip php-fpm php-mysql php-bcmath php-imagickNext, you need to restart the PHP-FPM process. First, check your installed PHP version:
php -vMy current PHP version is 8.1.2, so I run:
sudo systemctl restart php8.1-fpm8 Configure Nginx
Although we have a web server, we haven’t configured it yet. We haven’t even told it where the website’s files are located. As a result, it will only display the default welcome page when it receives a request.
First, create a new configuration file in the specified path and open it with the nano editor:
sudo nano /etc/nginx/sites-available/wordpressCopy the following content into the file (pay close attention to ensure the PHP-FPM version is correct):
server {
        listen 80;
        root /var/www/wordpress;
        index index.php index.html index.htm index.nginx-debian.html;
        # server_name myexampleblog.com www.myexampleblog.com;

        location / {
                try_files $uri $uri/ /index.php$is_args$args;
        }
        location = /favicon.ico { log_not_found off; access_log off; }
        location = /robots.txt { log_not_found off; access_log off; allow all; }
        location ~* \.(css|gif|ico|jpeg|jpg|js|png)$ {
                 expires max;
                 log_not_found off;
        }
        location ~ \.php$ {
                include snippets/fastcgi-php.conf;
                fastcgi_pass unix:/var/run/php/php8.1-fpm.sock;
        }

        location ~ /\.ht {
                deny all;
        }
}
To enable this server block, you need to create a symbolic (soft) link from this file to the sites-enabled directory:
sudo ln -s /etc/nginx/sites-available/wordpress /etc/nginx/sites-enabled/And remove the default configuration file from the sites-enabled directory:
sudo unlink /etc/nginx/sites-enabled/defaultFinally, test your Nginx configuration for syntax errors:
sudo nginx -t9 Download WordPress
Switch to the /tmp directory and download the latest version of WordPress:
cd /tmp
curl -LO https://wordpress.org/latest.tar.gz
tar xzvf latest.tar.gz
Copy the extracted wordpress directory contents to the website root directory we specified in the Nginx configuration:
sudo cp -a /tmp/wordpress/. /var/www/wordpressAlso, remember to set the owner and group of this root directory to www-data:
sudo chown -R www-data:www-data /var/www/wordpressNext, create a copy of the sample configuration file and edit its contents:
sudo cp /var/www/wordpress/wp-config-sample.php /var/www/wordpress/wp-config.php
sudo nano /var/www/wordpress/wp-config.php
Visit this website to generate unique phrases and fill them in below:
define( 'AUTH_KEY',         'put your unique phrase here' );
define( 'SECURE_AUTH_KEY',  'put your unique phrase here' );
define( 'LOGGED_IN_KEY',    'put your unique phrase here' );
define( 'NONCE_KEY',        'put your unique phrase here' );
define( 'AUTH_SALT',        'put your unique phrase here' );
define( 'SECURE_AUTH_SALT', 'put your unique phrase here' );
define( 'LOGGED_IN_SALT',   'put your unique phrase here' );
define( 'NONCE_SALT',       'put your unique phrase here' );
Additionally, for WordPress to connect to the database successfully, you need to enter the following database information:
define( 'DB_NAME', 'wordpress' ); // The database name we created
define( 'DB_USER', 'wordpress-user' ); // The user we created
define( 'DB_PASSWORD', 'your_strong_password' ); // The password for the user
Finally, save and close the file.
10 WordPress Site Setup
Congratulations, you’ve reached the final step!
Restart Nginx:
sudo systemctl restart nginxEnter your instance’s Public IP in your browser. If you see the following page, it means Nginx is successfully running the WordPress application:
From here, just follow the on-screen instructions of the WordPress installer, and your WordPress site will be live!
11 Appendix
So far, we’ve been using the browser-based SSH client. However, I prefer to SSH into my instance from my Mac’s Terminal, rather than having to open Chrome, log into AWS, and navigate to Lightsail every time (it’s too cumbersome). Here’s how you can do that.
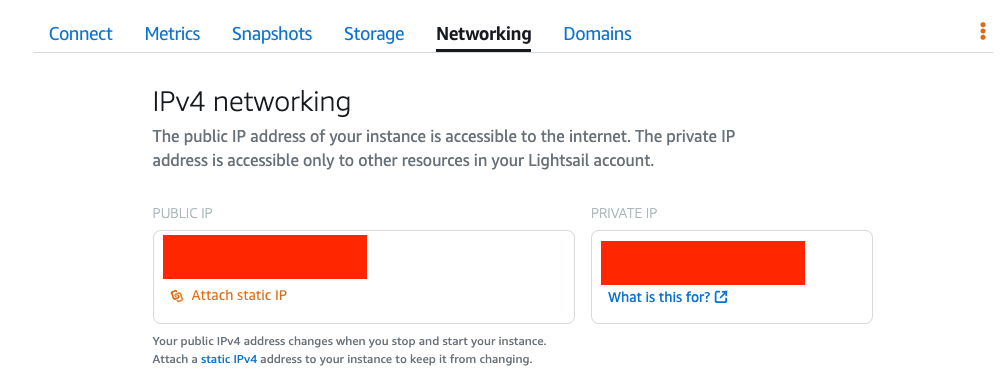
First, go to the “Networking” tab and click “Attach static IP” under the “Public IP” section:
Give your static IP a name and attach it to your current instance:
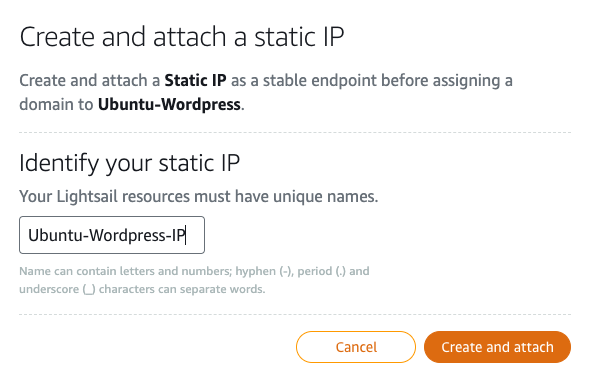
This prevents the Public IP from changing if the instance reboots.
After that, go back to the “Connect” tab and click “Download default key” at the bottom:
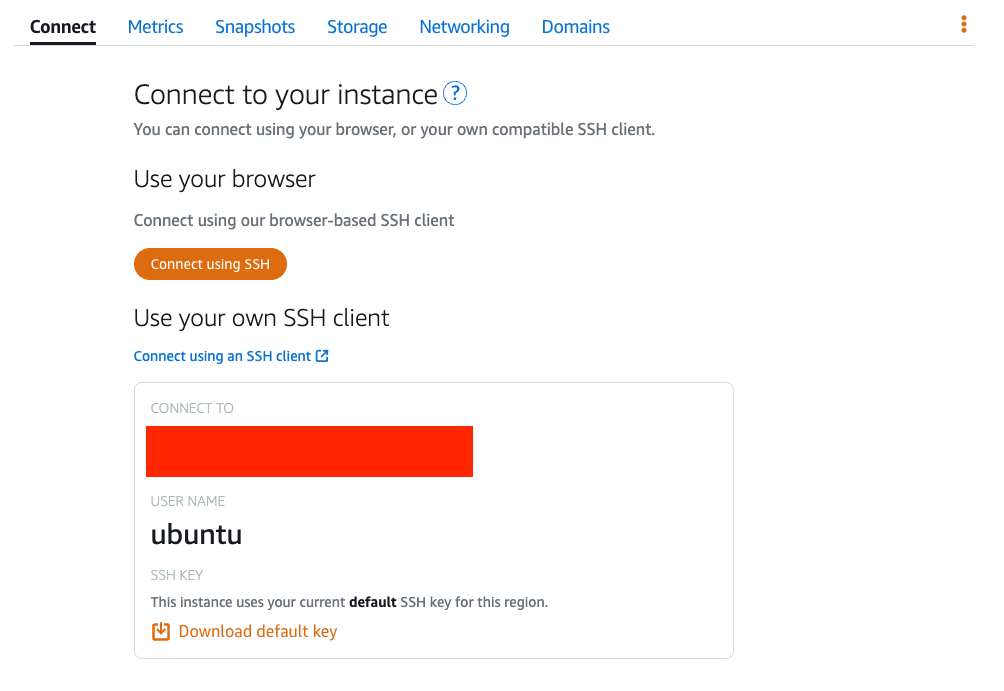
On your local machine, you will use the provided username, Public IP, and this SSH key to connect to the instance. On your local terminal, change the permissions of the downloaded .pem file to 400:
chmod 400 LightsailDefaultKey-ap-northeast-1.pemFinally, you can connect to your instance via SSH:
ssh -i LightsailDefaultKey-ap-northeast-1.pem ubuntu@PUBLIC_IP12 Conclusion
In this article, we used AWS’s Lightsail service to get our own server/instance. We then installed Nginx (Web Server), MySQL (DBMS), and WordPress on it to successfully create our own WordPress website.
Building a website this way gives us a much higher degree of control. We can configure the server with more flexibility (e.g., the firewall) and make custom modifications to the WordPress source code.
Best of all, we can perform comprehensive backups of our site without relying on WordPress plugins! In the upcoming article, “Lightsail x WordPress: Backing Up and Restoring Your WordPress Site,” I will show you how to back up and restore your website.